When the moment arrives to obtain a new SIM, the first thing that comes to your mind is the activation process. While SIM card activation processes have gotten better over time, there’s no denying that each telecommunications provider will have its own set of rules and regulations for the same. Hence, it’s crucial that you strictly abide by the laid-out procedure created by that respective telecommunications company, so that your experience remains seamlessly throughout. And to ensure that happens, we have created an exhaustive guide containing all the required actions you need to take before you activate your Reliance Jio prepaid SIM.
Headquartered in Navi Mumbai, India, Reliance Jio Infocomm Limited was founded in 2007 by one of the world’s billionaires, Mukesh Ambani. The company currently provides 4G/4G+ service to its customers, with an upcoming 5G supported service as well. Jio also offers fibre broadband services to its customers and is the third-largest Indian mobile network operator with a 426.2 million subscriber base.
To obtain a Reliance Jio prepaid SIM, you need to first showcase supporting documents for identity verification. These include furnishing your Proof of Address (POA) and Proof of Identity (POI). For instance, you can use your Indian Government-issued Aadhaar Card as a supporting document for POA and POI.
Activate Reliance Jio Prepaid Via Tele Verification
To activate your Reliance Jio prepaid SIM via tele-verification, proceed to follow the below-mentioned steps.
- Firstly, you need to insert your newly obtained Reliance Jio SIM card into your mobile phone. It should be noted that Reliance Jio SIM cards only operate on 4G/4G+ networks (as of now). Hence, your mobile phone should be at least 4G-capable to support the SIM’s operations.
- Once done, head over to the phone’s dialer and type 1977. You’ll be redirected to an IVR (Interactive Voice Response) system where you’ll be asked to complete your tele-verification process.
- During the tele-verification process, you’ll be asked to enter a five-digit PIN. This five-digit PIN can be obtained by calling 1977 from your alternate phone number. On the other hand, you can also enter the last four digits of your Aadhaar card number, so that the tele-verification process can be completed.
- After completing the tele-verification process, your Reliance Jio SIM will be activated. Generally, it takes around two to three hours for the activation to happen.
Your Reliance Jio prepaid SIM should be activated within 30 days of obtaining the same. Additionally, you can also contact the Reliance Jio customer care support for manual verification, in case the IVR system doesn’t work for you.
Activate Reliance Jio SIM Via Home Delivery

To activate your Reliance Jio prepaid SIM via the home delivery system, be sure to follow the below-mentioned suggestions.
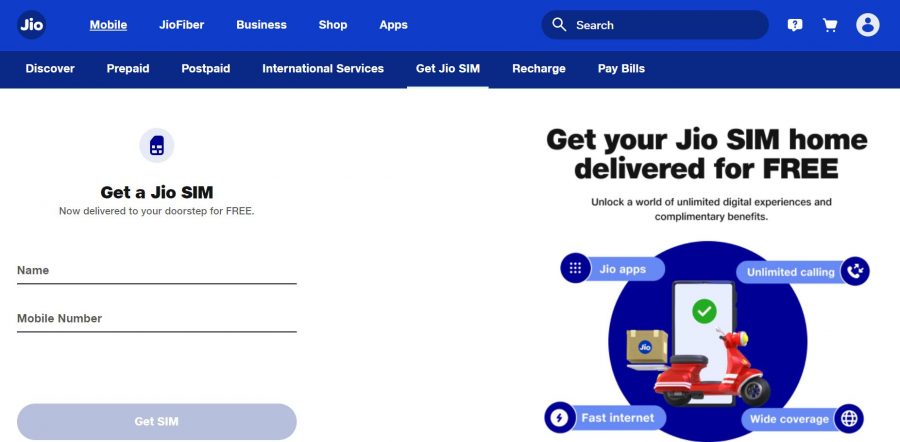
- Head over to Reliance Jio’s official webpage to kickstart the SIM home delivery process.
- Proceed to enter your name and mobile number.
- A Reliance Jio representative will get in touch with you on your mobile number shortly. Ensure that you keep your Aadhaar card details with you.
- The Reliance Jio representative will arrive at your home address and will activate your Reliance Jio SIM on-spot by using Aadhaar’s eKYC process via biometric finger impression.
- Requisite fees should be reimbursed to the Reliance Jio representative for immediate activation of your desired cellular plan on the Reliance Jio network.
Activate Reliance Jio Prepaid SIM Via Official Stores
When activating your Reliance Jio prepaid SIM offline via the official stores, follow the below-mentioned method.
- Visit the official webpage for Reliance Jio’s official store locator.
- Proceed to enter your location and select the nearest store you want to visit.
- Carry your POA and POI documents, such as your Aadhaar Card (preferred) or Voter ID card. Keep the original copy as well as a photocopy for reference. Also, don’t forget to carry your mobile phone.
- Your Reliance Jio SIM will be activated on-spot after successful verification of your documents and payment of requisite activation fees.

