To take a significant step towards an inclusive and more streamlined society, the Philippine government introduced the implementation of the Philippine Identification Card, abbreviated as PhilID. Otherwise referenced as the ‘national ID’, the PhilID forms a major part of the Philippine Identification System (PhilSys), which first came into force in 2019.
The fundamental objective of PhilID is to act as a national identification system for all resident Filipinos, along with foreign nationals who are residing in the Philippines. The PhilID contains a unique 12-digit number that is assigned to every individual cardholder, along with the person’s demographic information and biometric data (such as photographs and fingerprints). In addition to serving as a valid proof of identity, the Philippine Identification Card can also be used to expedite processes such as applying for licenses, opening bank accounts, and accessing social services. It should be known that the PhilID incorporates advanced security features that prevent identity theft and fraud while also making the governmental administration more efficient.
The PhilID registration process is currently ongoing in the Philippines and is expected to be completed by 2025. So, if you are looking to apply for one, then our all-inclusive guide should be able to direct you towards the correct path.
What are the Eligibility Requirements
The PhilID has quite straightforward eligibility requirements, which include all Filipino citizens, regardless of their age or whether they are residing within the Philippines or abroad. The PhilID registration is also applicable to foreign nations that have been residing in the country for more than six months. Additionally, individuals with multiple citizenships can also apply for the PhilID.
The eligibility norms also state that you have to present a number of primary as well as secondary documents for verification. Primary documents include a birth certificate, Philippine passport, and any Unified Multi-purpose Identification (UMID) Card, student’s license permit, or non- professional/professional driver’s license.
On the other hand, the secondary supporting documents may include Voter’s lD issued by the Commission on Elections, Postal lD issued by the Philippine Postal Corporation, taxpayer identification number, school or employee ID, or residence ID from another country. To learn about the full list of documents that are required, click here.
How to Apply and Activate
If you have been successful in collecting all the supporting documents and are ready to start the application process, then you can effortlessly do so by following the required steps presented below.
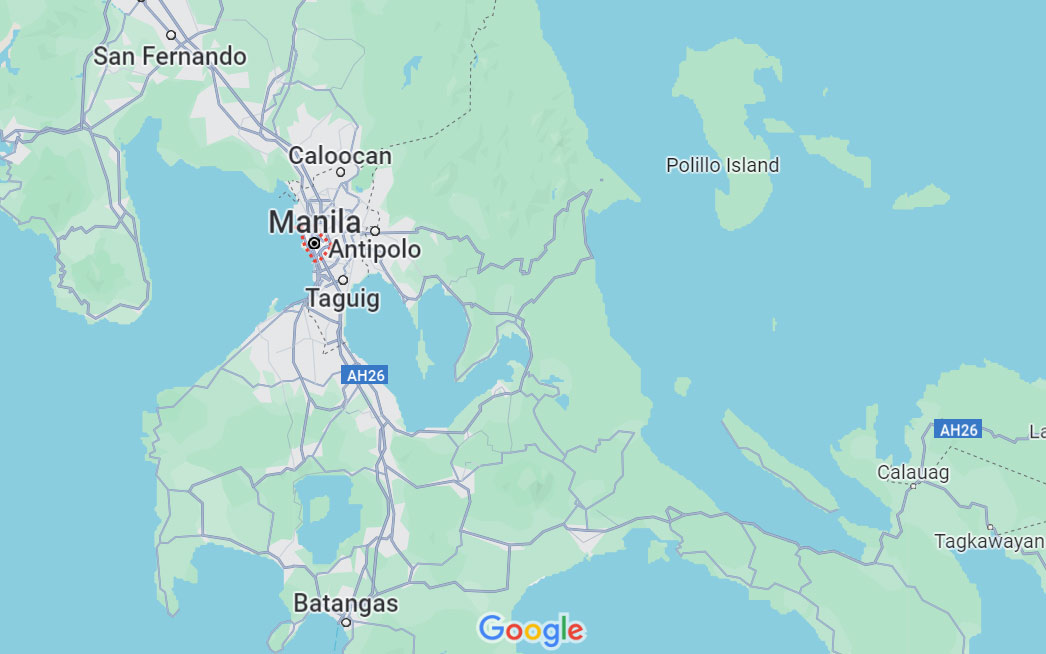
- Start the registration process by first locating a registration center around you via the official website.
- Proceed to select your specific region, and the address of the respective center within that region will be showcased to you.
- Once you obtain the registration center’s address, head over there with your supporting documents (as mentioned previously) and obtain a PhilID application form.
- After obtaining the necessary form, fill it out properly with the required information. Ensure that you commit no mistakes.
- Once you have completed filling out the form, submit it along with the supporting documents to the registration center. The documents will be verified on the spot.
- After successful verification, your form will be submitted, and you need to await the delivery of your PhilSys Number (PSN) and PhilID to your delivery address.
Once you receive your PhilID, it will be activated and ready for use.
How to Contact For Help
If you have any important queries or require assistance when applying for your PhilID, then you can get in touch with the customer support team via phone at 1388 or via email at info@philsys.gov.ph.
Alternatively, you can also get in touch with the respective authorities online via the official ‘Contact Us’ page here.
What You Did Not Know of ePhilID
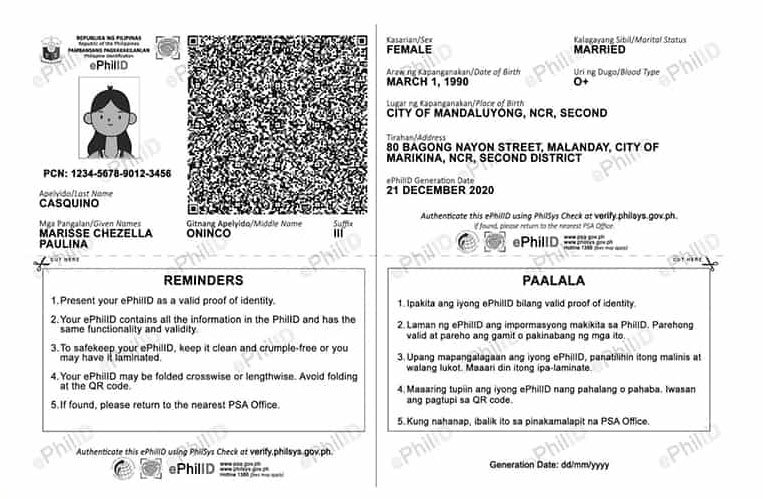
The PSA, or Philippine Identification System, has also introduced the concept of ePhilID, or electronic PhilID, where applicants to the PhilID can immediately start enjoying the benefits of the PhilID before receiving their physical identity cards in the mail. It typically acts as a digital version of the PhilID, having the same validity and functionality as the physical PhilID.
It should be known that for every registered person, a physical PhilID is always allocated. So, even if that person opts for an ePhilID, he or she will still receive the physical PhilID. So, if you have already applied for a PhilID and the same has been approved, but you have yet to receive your physical identity card, then you can apply for an ePhilID via the steps outlined below.
- Begin your journey by heading over to the official website here.
- On the landing page, accept the terms and conditions and privacy policy, then click on ‘Next’.
- The first step involves entering the ‘Transaction Reference Number’ that is provided by the registration center when applying for the PhilID. It is a 29-digit unique code. Once entered, click on ‘Verify’.
- After successful verification, an appointment will automatically be set up with a nearby PhilSys registration center, where you will need to claim your ePhilID. Additionally, print out the appointment slip that has been generated.
- Once done, head over there with the printed appointment slip and collect your ePhilID. Remember that without an appointment, no walk-ins at registration centers will be accepted.