
Cementing a place within Singapore’s dynamic and technological landscape, Dell has been a trusted computer brand among consumers and businesses for many decades. Originally established in 1987, the company features an extensive product portfolio that ranges from laptops and desktops to workstations and other computer-related accessories. What differentiates Dell from any other company in the PC market space is their robust customer support. The company always prioritizes customer satisfaction with dedicated support channels, such as online chat, over-the-phone, and even self-service resources.
Dell Singapore also plays a major role in job creation and the economic growth of the country by employing a significant workforce and contributing to the nation’s technology sector growth. With that being said, if you are using a Dell laptop or any other Dell-branded computing device for which you want to check the warranty status, then our step-by-step guide can help you complete your task without any significant hurdles.
Know Steps to Check Warranty Status
If you want to check the warranty status of your Dell laptop or any other Dell-branded product online, then be sure to follow the suggested steps provided below.
- First, you need to head over to the official support page here.
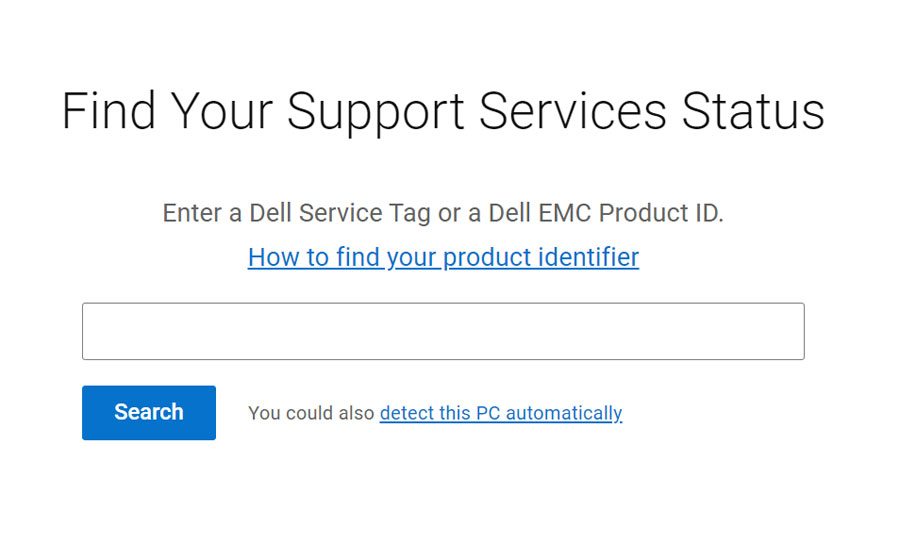
- On the landing page, you will be presented with a blank box to enter your Dell device’s Service Tag or Serial Number (ST or S/N), or product ID. You can usually find the Service Tag sticker located on the side or bottom of most desktops and laptops.
- Once you have entered the ST, S/N, or product ID number, click on ‘Search’.
- Details of your Dell device, including its warranty status, will be showcased on the screen instantly.
On the other hand, if you are unable to find the requisite Service Tag, Serial Number, or product ID for your Dell laptop or any other Dell-branded device (such as desktops or workstations), then you can click on ‘Detect This PC Automatically’. Doing so will allow your computer web browser to smartly detect your Dell device without you having to move a muscle.
How to Find Your Serial Number
If you are unaware, Dell utilizes various product identifiers, such as Service Tag, Express Service Code, or Serial Number, to access product information like technical specifications, warranty status, and additional documentation. Apart from that, you can also get personalized support by simply identifying your Dell product using the Service Tag, Express Service Code, or even Serial Number (S/N).
For quick identification, keep in mind that Dell’s Service Tag is a seven-digit alphanumeric code, while the Express Service Code or Serial Number is a 10- or 11-digit numeric version of the Service Tag. There are multiple ways through which you can locate your Dell laptop’s or any other device’s Service Tag – all of which have been explained properly below.
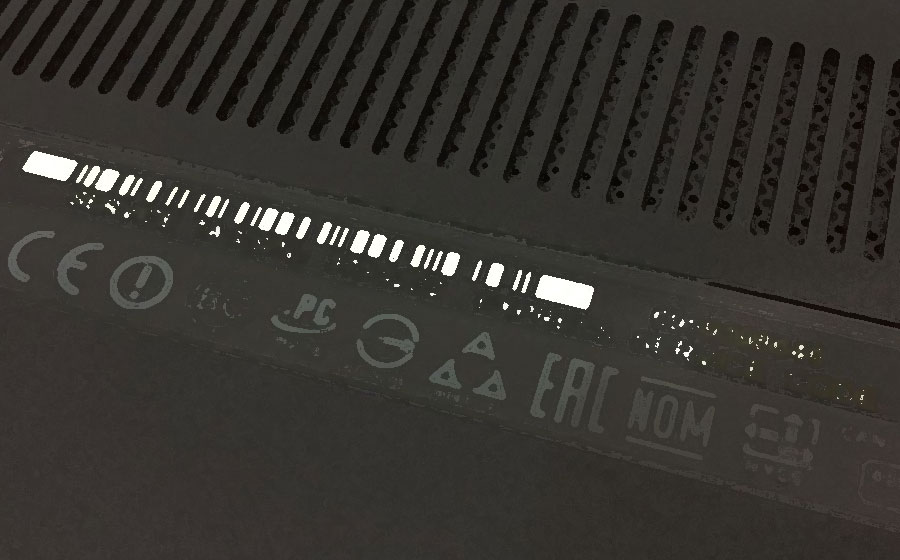
Finding Serial Number via Printed Label
- Start by first taking out your Dell laptop or any other Dell-branded device from its packaging.
- For laptops, the Service Tag or Express Service Code (or Serial Number) is located on the bottom panel. Certain laptops, such as the Dell XPS or Precision range, may have a flap covering the label.
- For desktops or all-in-one computers, you can find the Service Tag or Express Code Label on the top, side, or back panel. And for tablets, you can find the same either on the bottom panel or the back cover.
Finding Serial Number Via Dell’s SupportAssist App
- Begin by first downloading the Dell’s SupportAssist App from the official website on your Dell device running Windows operating system.
- Once downloaded, run the executable file on your Dell Windows device.
- After successful installation, launch the app, and you will be able to obtain your device’s Service Tag or Express Service Code.
Finding Serial Number via Windows Command Prompt
- The primary step involves booting up your Dell laptop, desktop, or tablet running the Windows operating system.
- If you are on Windows 8, 8.1, 10, or 11, then click on the search icon (magnifying glass icon) on the desktop and type ‘Command Prompt’ (without quotes). On Windows 7, click on ‘Start > Search Programs And Files’ and then type the above command.
- Once the Command Prompt window opens, type the following: wmic bios get serialnumber and press ‘Enter’. After that, your Dell device’s service tag will be shown on the screen.
How to Get Official Support
If you are unable to obtain your Dell device’s Service Tag from the aforementioned listed processes, then you can contact Dell’s official customer support for assistance. To do that, follow the steps laid out below.
- Kickstart the process by first heading over to the official Dell Singapore ‘Contact Us’ page here.
- On the landing page, click on ‘Begin Online Chat’, and a chat window will pop up asking for your full name and email address. After that, click on ‘Continue’.
- You will then be connected to a live chat support agent, to whom you can ask your queries and get your issues resolved seamlessly.
Alternatively, you can also contact Dell’s sales tech advisor by calling 1800-394-7486.