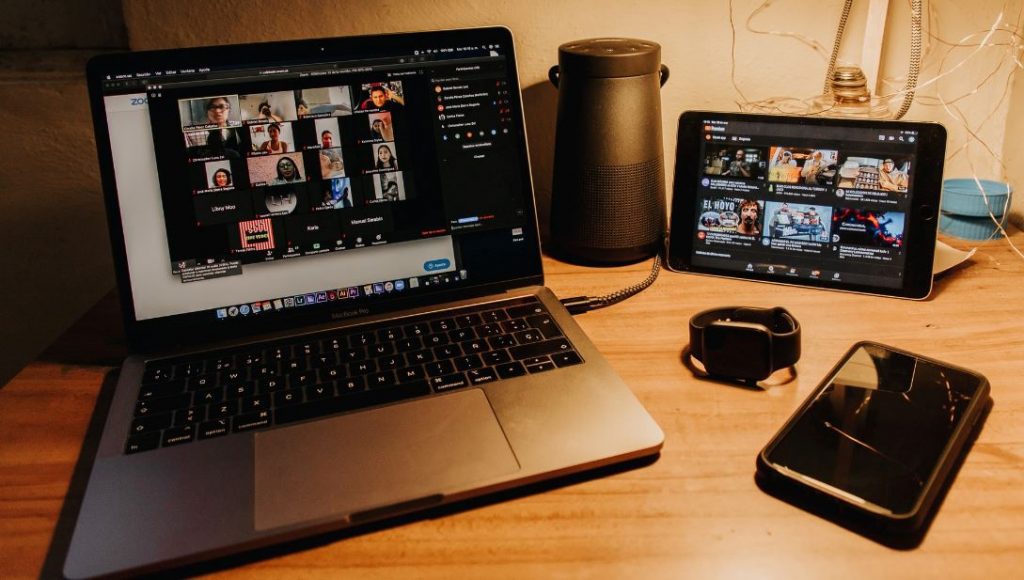
Thanks to Covid, Zoom has become a household name. There is little surprise to that. The platform is one of the best ways for professionals to collaborate digitally. Any Zoom meeting can have a breakout area if you are the host. Your account settings must also be enabled before creating breakout rooms. Using Zoom’s breakout rooms feature, you can separate call participants into virtual “rooms” where they can have distinct group discussions and then re-join later on.
What are breakout rooms?
As a result of Zoom’s various capabilities, you can duplicate the feeling of meeting people in person. The breakout room is one of Zoom’s lesser recognised features. Using breakout rooms, you may separate people in a meeting into smaller groups, where they can have their own private conversations before returning to the larger meeting at a later date. A breakout room can only be created in Zoom if the option is enabled. A single conference call can create up to 50 breakout rooms.
Breakout rooms can be accessed by mobile users as well, but they can’t be created or managed by them. For Mac and PC users, here’s how to set up a breakout room using Zoom’s desktop application.
How to enable Zoom’s breakout rooms?
• To enable breakout room features, you’ll first need to log in to Zoom website.
• Sign in to Zoom with your username and password.
• In the top-right corner, click on “My Account” to go to your account page.
• On the left sidebar, click “settings” under the “Personal” header. According to your Zoom’s version, this may alternatively be referred to as “Account Settings.”
• After selecting Meetings, scroll down to the category “Advanced”.
• To turn on the breakout rooms, click the switch at the top of the page.
If you click the checkbox underneath this toggle, you can also pre-schedule breakout rooms, which will allow you to manually assign who should go to which breakout room before the conference begins.
How to create breakout rooms in Zoom?
• In order to schedule a meeting, click on either “New Meeting” or “Start a Meeting”. To create breakout rooms, you must be the host.
• You will now see a “Breakout Rooms” icon in the lower toolbar when the meeting begins.
• Zoom will automatically arrange your participants into the number of rooms you specify, or you may manually sort each room.
• Click “Create Breakout Rooms” after you have worked with your settings.
How do I manage a breakout room?
• The rooms you’ve constructed will be displayed in a dialogue window.
• If you want to see who is in a room, click on it. If you want to move individuals around or rename them, click on them and drag them to another room.
• Click on the “Options” button to enable the various settings for your breakout room.
• From this screen, you can also rename the rooms.
• Open all breakout rooms by selecting “Open all Rooms”.
• For subsequent breakout sessions, selecting “Recreate Rooms” will reshuffle the attendees in any order you specify.
Thus, we have seen in detail, how to create as well as manage the breakout rooms in Zoom.

