The customs department for any nation forms the primary checkpoint for border control, inspecting and handling goods going in and out of the country. It is also tasked with the responsibility of assessing and collecting duties and taxes on imported goods, ultimately creating a major source of revenue for the government. A similar notion can be expressed about the Canada Border Services Agency (CBSA), which is one of the largest law enforcement agencies in the country, operating across 1,200 locations and employing more than 16,000 employees.
The CBSA plays a crucial role in protecting Canada’s security and economic concerns by enforcing trade laws and regulations, as well as preventing any import of restricted or prohibited goods. Such robust functioning ultimately helps in protecting the country’s citizens from unsafe and harmful goods and activities. It should also be known that the CBSA also processes visa applications, enforces immigration laws, conducts trade audits, investigates trade violations, and imposes penalties. Having said that, if you are shortly arriving in Canada and have certain imported items that need to be declared to pass customs, then our in-depth guide can help you with same.
Steps For Paying Custom Clearance Fee
According to the CBSA, passengers arriving in Canada have the option to make an advance declaration using the official “ArriveCAN” app on their smartphones. Once you make your advance declaration, you will be able to confirm the same at an eGate or a kiosk easily, making the clearance process 30 per cent faster. Additionally, you will also be able to take advantage of the advance declaration express lanes. However, keep in mind that the advance declaration is not supported by NEXUS Kiosks at the time of writing this article. Also, to get a glimpse of the participating airports that support the advance declaration, visit here.
To start the advance declaration process and fast-track the payment of the customs clearance fee, follow the below-mentioned steps carefully.

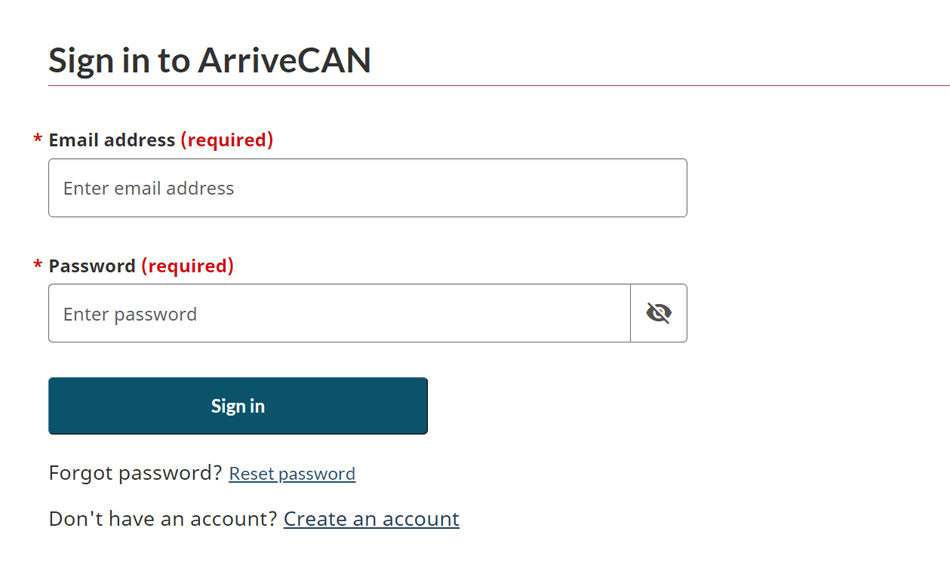
- Begin the declaration process by first downloading the ArriveCAN app on your Android or Apple device. Alternatively, you can also use the official website here, especially if you are not comfortable using the aforementioned app on your smartphone.
- Once downloaded, launch the app, review the privacy policy, and then proceed to create a new account using your email address. However, if you are already a registered user, then you can simply sign in to your account.
- In the next step, you need to provide details of your trip and all the associated members (if any) of your traveling group. Information for up to eight people (including yourself) is allowed in a single submission. Additionally, you also need to provide information about your (and the associated members in your group) travel document, such as your Canadian permanent resident card or passport, either by scanning the document or by entering the information manually.
- After that, save your traveler information and answer all the customs and immigration questions truthfully.
- Once done, proceed to submit the advance declaration, and a confirmation message with the reference number will be sent to your registered email address.
- When your flight lands at any of the participating Canadian airports, all you need to do is scan your travel document (along with others) at an airport eGate or a kiosk. A maximum of five travelers can use a kiosk simultaneously. Also, solo travelers who are aged 16 years or older are allowed to use eGates.
- After that, simply review your final declaration and then proceed to submit it.
- Once done, you need to take the eGate or kiosk receipt to a border services offer, where you will spend time for further processing. During this moment, you also need to make the customs duty payment. Payments are usually done via electronic means, such as debit and/or credit cards.
Finally, once the payment and processing are done, you will be able to enter Canada with your imported goods. Remember that you can always edit your declaration when you reach the airport eGate or kiosk. And the advance declaration is only valid for 72 hours after submission, after which it will expire and you will need to provide a new one.
Documents Required and Other Related Information

It should be known that the only document you will require for the customs clearance process is your travel document. Your travel document may include your passport or your Canadian permanent resident card. But before you plan on submitting the advance declaration form, there are certain exemptions that you need to know about.
For starters, if you are returning to Canada after more than 24 hours, then no exemptions will be allowed for cross-border shoppers. However, if you are returning after 24 hours but less than 48 hours, then you can claim goods up to 200 Canadian Dollars, without having to pay any duty or taxes. But if the goods that you bring are worth more than the aforementioned amount, then no exemption can be claimed and full duties must be paid. Additionally, the exemption does not include alcoholic and tobacco products.
If you are returning to Canada after 48 hours or more, then you can claim an exemption of up to 800 Canadian Dollars. Additionally, you can bring up to 1.5 liters of wine/1.14 liters of alcoholic beverage/8.5 liters of beer. For tobacco products, you can bring up to 200 cigarettes, 50 cigars, 200 grams of manufactured tobacco, and 200 tobacco sticks. Exceeding the aforementioned limits will lead to the implementation of special duty rates. Lastly, if you are importing motor vehicles, ensure that meet all the import requirements and pay the requisite duty/taxes.
How Much Time Does the Clearance Take?
With the help of the advance declaration process, you can expect the clearance process to be completed within a matter of mere minutes. For any additional assistance, you can get in touch with the official authorities here.

